
How it works
Back up your RMM data. Check your saved copy.
Connect your platform, find a saved record, and open a download before an outage, deletion, or migration.
Start free. Need daily backups? Compare plans.
Step 1
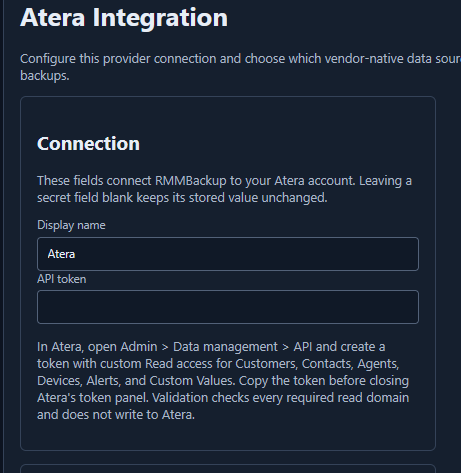
Create your account and choose a platform
Start with your work email, follow the setup link, and create your MSP workspace. In Settings, choose a supported vendor and select the data your team needs.
Check your result: Confirm you selected the intended vendor account and the types of records you expect to find later.
Step 2
Connect and validate access
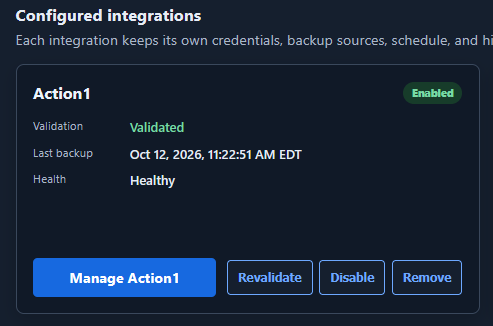
Enter the credentials required by your integration and run its connection check. Resolve permission or access errors before enabling backups.
Check your result: Look for successful validation. If you change your selected data or credentials, validate the connection again as required.
Step 3
Run a backup and read the result
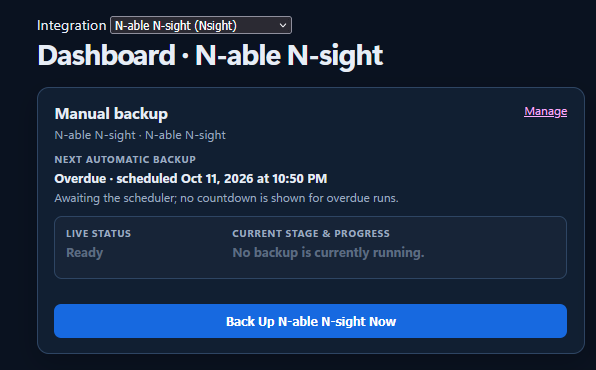
Start a manual backup for the selected connection. Free allows one accepted manual backup attempt per rolling 24 hours. Review each selected type of data when the job finishes.
Check your result: Check the capture date and successful results. If part of the backup failed, review what is missing and resolve the error before relying on that data.
Step 4
Find a record you recognize
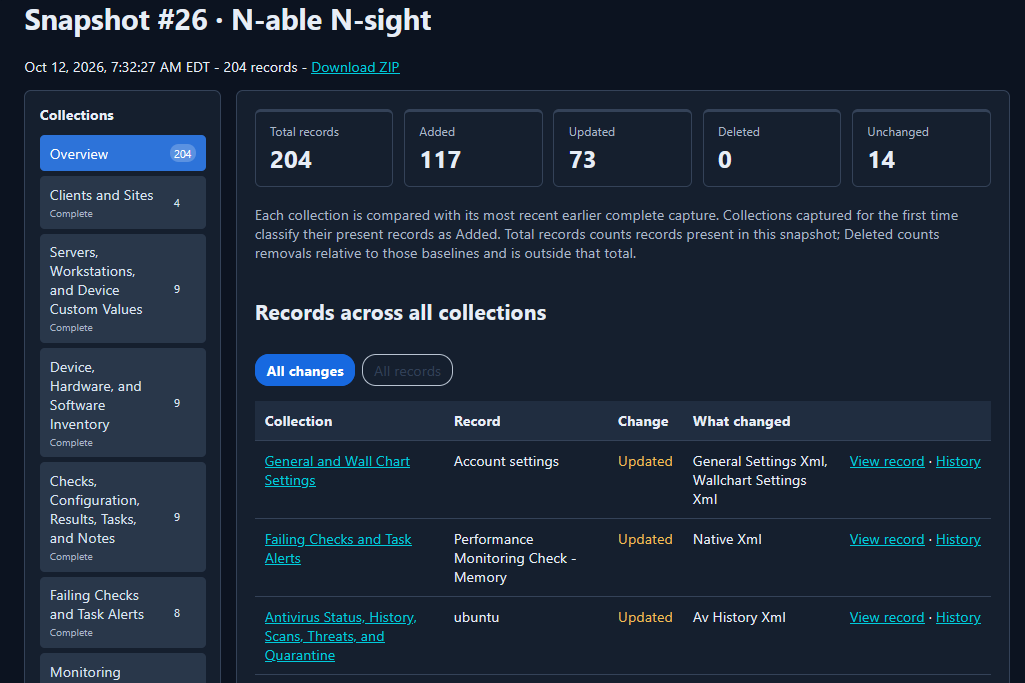
Search the saved snapshot for a familiar device or client. Read its backed-up details. With retained earlier versions, inspect field differences or use the device timeline to investigate a change.
Check your result: Match a name, identifier, or detail you know to the saved record. Check the dates of both versions before drawing conclusions from a comparison.
Step 5
Download and open your copy
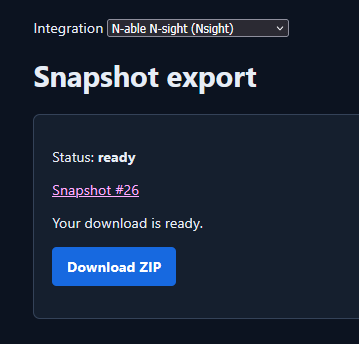
Request the snapshot ZIP, wait for it to be ready, and download it. Keep the file before ending source access or removing or replacing your RMMBackup connection.
Check your result: Open the ZIP and locate a record and its original source response. Confirm it belongs to the expected vendor and capture date. Prepared download links can expire; keep the downloaded file where your team can access it safely.
Keep the history your next question will need.
Free allows one connected platform and keeps your latest fully successful snapshot accessible. Full Access lets you connect all supported platforms you use, with one account per platform. It keeps ongoing history and adds daily automatic backups for each platform after its first fully successful backup. Contact support to activate it at no charge during open Beta.
Removing or replacing a connection changes access to its earlier history. Download the snapshots you need first. Review retention and connection-switching rules.
One record found. One download checked.
Check your first backup with a familiar device or client.